The Microsoft Authenticator is an app on your phone or tablet that is used to approve login requests (when your phone is connected to the internet) or for providing login codes (when offline). The Microsoft Authenticator cannot control your device and is safe to use on personal phones and tablets.
Download the Microsoft Authenticator app
The Microsoft Authenticator is available for iPhone, iPad, Android phones and tablets, and Windows phones.
Download the Microsoft Authenticator for your device
Set up the Microsoft Authenticator app
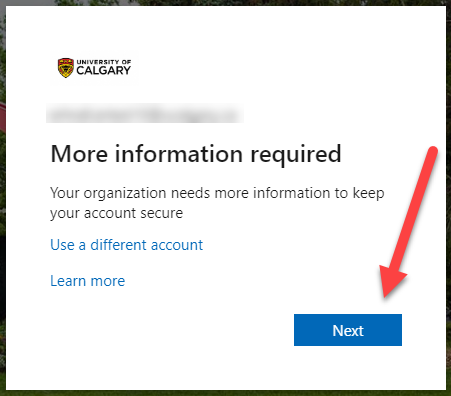
When you begin enrolment, you will be prompted for more information required. Select "Next".
If you need to get to the MFA set up screen again, click here.
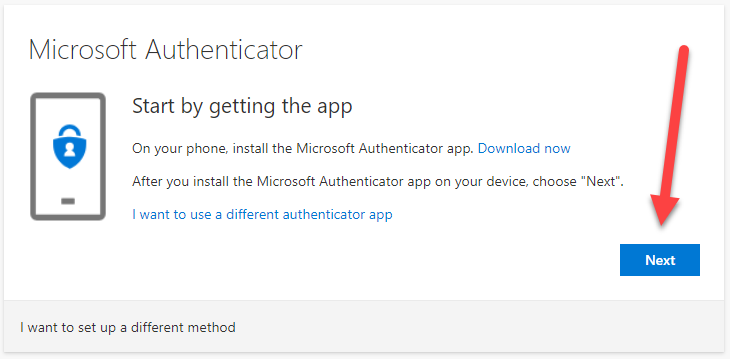
Select "Next" to confirm you have the Microsoft Authenticator app.
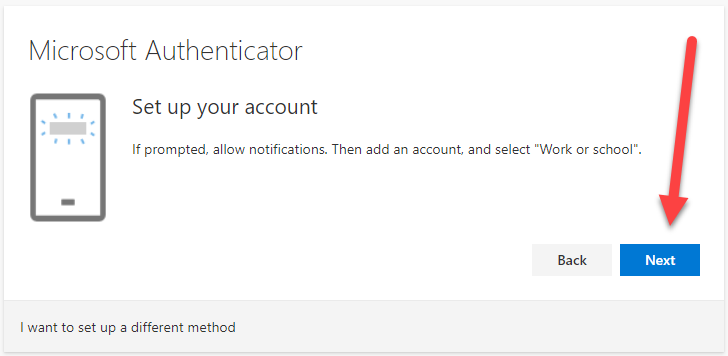
Follow the instructions to allow notifications, and adding an account. Then press "Next".
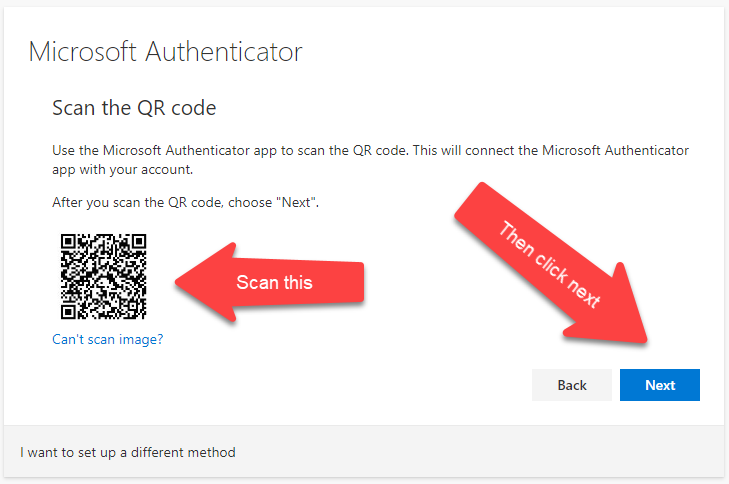
Using the Microsoft Authenticator app on your phone, point your phone's camera at the QR code shown.
Note: If you are setting up the Microsoft Authenticator on the same device as the QR code, or if you denied access to your phone's camera, select "Can't scan image?". This will give you a code and URL to enter into your Microsoft Authenticator app.
The scan was successful when you see number show up in your Microsoft Authenticator app underneath your @ucalgary.ca e-mail address. Click "Next".
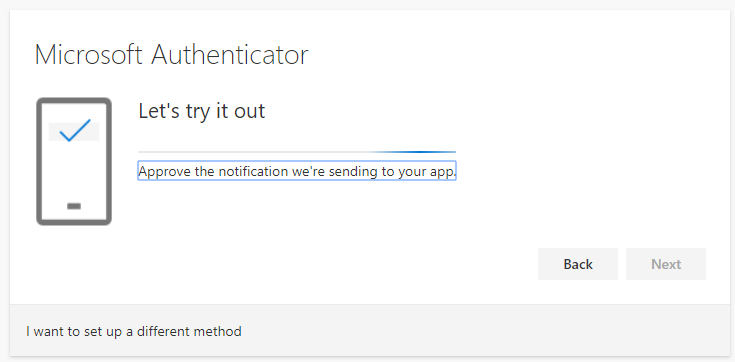
You will be prompted to approve a sign in on your phone.
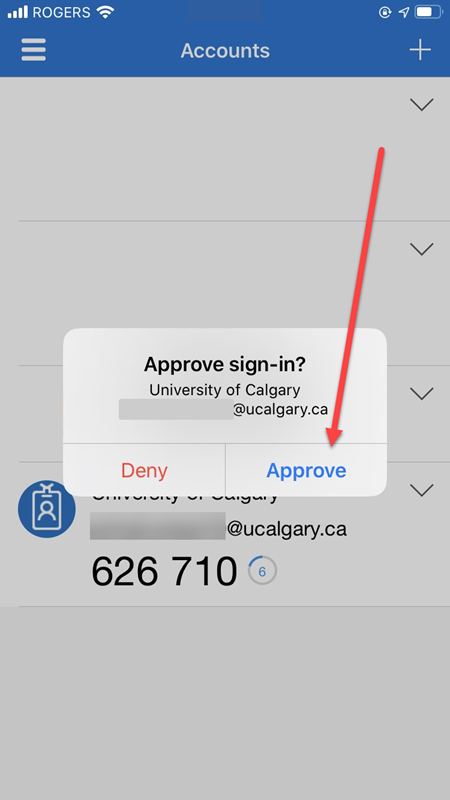
Check your phone for an approval request. Click "Approve".
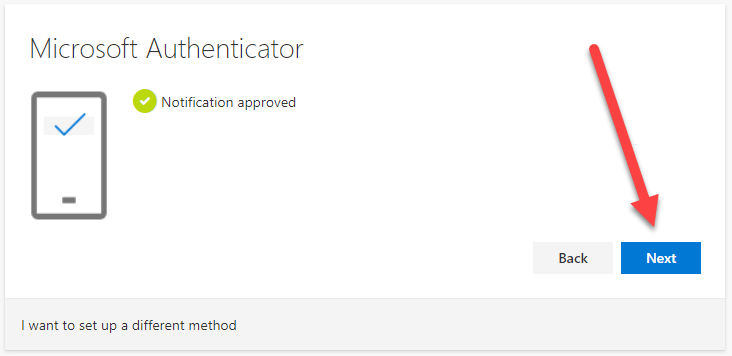
Press "Next" after approving the notification.
The authenticator is now set up and ready to use.
Enable the "Backup" option in the Authenticator app in case you lose or change your phone. A personal Microsoft account is required for this step. For more information, please visit Back up and recover accounts with the Microsoft Authenticator app.
Important: If you have not set up a backup phone number, press "+ Add Method" and enroll a phone number. Refer to the instructions at the top of the page on how to add a phone number.
